Okay so let's finish this project up.
So the ISO image is done and you are now shy about 8 GB of hard disk space. Oh did I mention you need a butte load of time and hard drive space to do this.
So let's open up DVD Shrink. If you haven't already, go ahead and close DVD Flick. Once DVD shrink is open go to File à Open Disc Image. Go to the ISO image that you made and open it. To speed things along uncheck the video preview.
Okay after that is done you can see that it has figured out what to do with it to shrink it down to the default desired size of 4.+ GB.
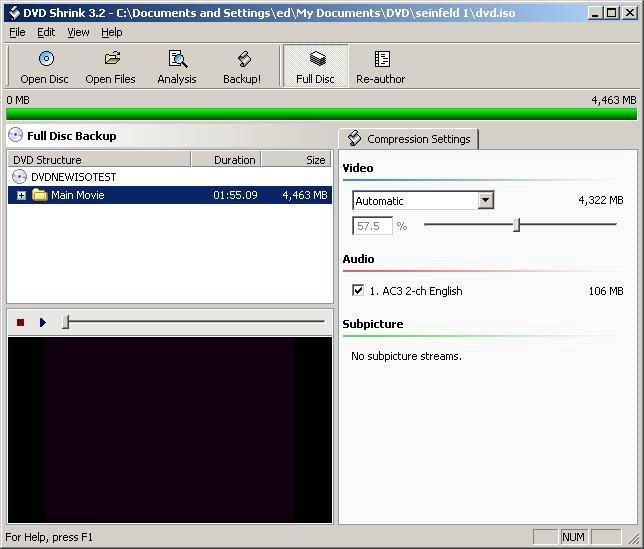
Now you are thinking this will degrade quality and what not. Well maybe, yeah, I am pretty sure it will. But then again, I will be able to watch and enjoy it on my TV. Also if you have the time you can later on tell the program to take a little more time in the compression to allow it to have a better look. I don't, default settings for me. So now what? It is time to make another ISO, yes another one. That is unless you have Nero and then DVD shrink can use it to burn right to a disc. I do not have Nero.
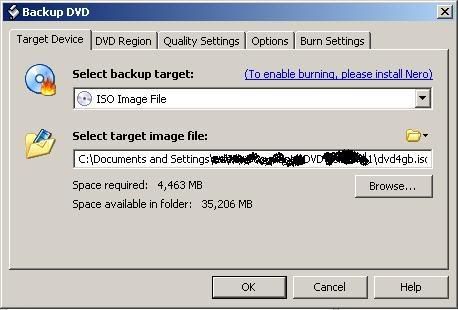
So click the "Backup!" button already. Once clicked you get the Backup DVD dialog box. Choose your target. The image file path. Then choose any other settings you want. After you are satisfied, click OK.
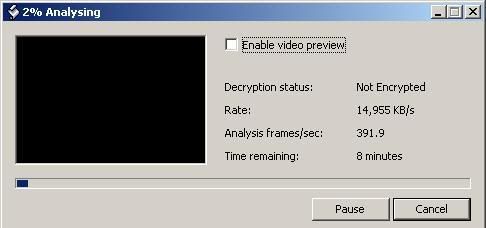
After that it goes on its way. And you give your computer, unless you have multi core / multi processors, to the CPU process Gods. So go make you self some supper or whatever. From here I think you can get the rest. Open that 4.+ GB ISO file using an ISO burning software and burn it to your DVD-R.
Happy Burning.
No comments:
Post a Comment